Monday, 14 December 2015

My level and coding step by step:

Character starts the game in the cell and hears a scream. The doors are open. Time for the player to escape.

The player is then introduced to the clocks, one of which shows the lever.

Once the player clicks on the lever, the item will pop up near the players camera. 

Player places the lever and uses it to open the elevator doors.

Once inside the elevator, the music begins to play, then pressing the red button will activate the elevator to move down. Once on the bottom floor, the player will hear the bell sound. 

Finding out that the exit is locked, the player will enter a room where a strange set of eyes are watching. One of the eyes is the button that will activate a door to the computer room.

Then in the computer room is the red button that will activate the exit door to open. 

The player goes out of the building where the walking simulator ends.
For the coded objects, my total count was four. First was opening doors. Second was the lever changing positions (the clocks, to the player, to the bottom part of the lever). Third was the elevator, which I used animation in order for it to move downwards. Forth was the buttons used to trigger the doors to open.  It should also be mentioned that I had a few texts to guide the player on what to do or what is happening. As well as having some background music and sound effects to give the game more of an atmosphere. 

Friday, 11 December 2015

Adding more Texture

Now that I have managed to finish the modelling part of the project, it was time to add more texture onto my arena. Examples of this are shown in my previous post which shows all the textures and images I used. For example the wall and snow textures for the temple. I should also mention that I have added more models from some of my class work. Like having the mushroom, some foliage and the pillars.

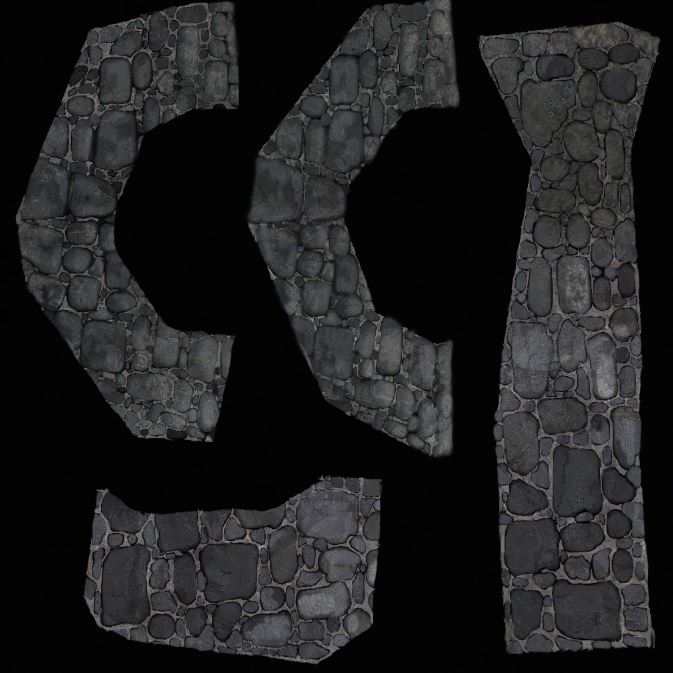
I thankfully went back to the basics and created my own stone texture for the cave. The effect I used was multiply. Then putting another layer on normal on top I started colouring in the shapes I wanted to make the stone effect. 
The photo above was the picture I used for texture, in order to colouring in my stones. While the bottom photos are the shapes and look of my targa cave textures.


My deadline day problem:  
This image showed some complications that I had during the final hand in date. My folders that had all the textures, models and Photoshop work were a complete mess. So when I had to hand my work in, it was in pieces. Some of the textures where missing. However I did mange to sort out the animation that shows the battle arena in unity. My aim for the Christmas Holidays is to try and make my folders much neater and clear. I might also add one or two more things to my battle arena, to try and improve it.    

Monday, 7 December 2015

Face painting


For our last lesson of 2015, we were given the artwork of an old rough looking woman and was told to paint the image on Photoshop by just looking at the image on paper. This was a task to see how  well our skills in proportion and colour had become. It was a 2 hour session.  

What I got after 40 minutes:

 What I managed to do in 2 hours during the lesson:

This does go without saying that it needed a little more work on. So for my spare time (little that I have) I plan to redo the face painting. Though it was a fun task, it did show that I need to work more on my painting skills. Perhaps its type of brushes I am using? Or maybe my drawing skills are not exactly up there yet. We shall see.

Try 2 after 4 and a half hours:
This version was my second attempt at trying to speed paint. This one was done during Christmas but was timed for 4 and a half hours. This came out a lot better as I was more relaxed and not constantly looking at the time. It makes a world of difference when you have a bit more time to carry on with work with a fresh mind.


Wednesday, 2 December 2015

Life Drawing week 11

In this lesson We had to concentrate on the human anatomy parts. So fro example we mainly focused on drawing the leg or the chest. It was our choice in which body part to draw.
For the second part of this lesson, we put our techniques of how to draw aside for a moment and focused on naming the human anatomy.


The last image was us to draw the model as usual and then colour the outside of the model in black, so that the drawing would stand out. It worked for my drawing, but I only had time for one attempt.

Tuesday, 1 December 2015

Robot painting


 For this classwork/homework was to use the value to create the form, this is an exercise in simplification. How just 4 values can create dynamic forms. The second part of the exercise introduces the concept of atmospheric perspective.

My finished Robot with all 4 values:


Friday, 27 November 2015

New feedback for walking simulator

I was given another chance to show my walking simulator and have I have improved it since the last time I was given feedback.


It is pleasant to see more positive feedback from people and I appreciate that they are seeing the improvements being made. I just need to work on the sound effects, text and a bit of scaling changes, then hopefully I should be near the finish line.