Monday, 11 January 2016

Gun overlay and monster painting

For the second lesson of 2016, we where taught how to transform and adjust a texture to blend with the 'gun-like' model shown below. 
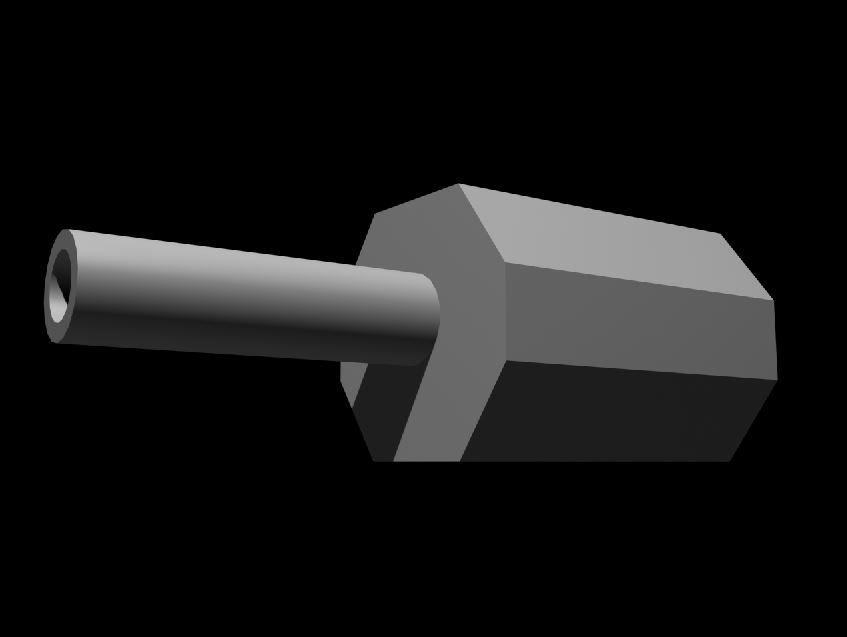
Now adding the sci-fi plane image onto the 3D model image, I changed the setting to 'Overlay' so that the sci-fi plane was behind the 3D image. Then I had to 'scale' and 'scew' the image in order to change the perspective. 
Once I completed the texture of the gun, I had to find a background of a Stanfield, to give the image more effect. I chose the the image below.
Adding a green texture, and having it as an overlay, allowed me to give a colour effect to my gun ship. I also added the text of 'Boom' on the gun ship.  

Vampire Overlay:

I did the same technique of overlaying the texture images to the 3D model image of a vampire. 


This was a very interesting technique to learn and a useful one too. A few artist do tend to prefer making a model and then using/editing the image to be a concept art piece. I may consider using this technique more often.


Wednesday, 6 January 2016

Life Drawing week 13 (a new year)

Well a new year and a new fresh start to life drawing. Today we had to get back into the habit of drawing the human anatomy. So we started the session with a quick few 3 minute drawings, to see how we got on.


The second part of the lesson was to draw the figure up close. We where given the task to draw the head of the model and see how detailed and accurate we could get. It is safe to say that I was a little rusty and almost got carried away with the attempt to draw the face. but never the less I managed to get a rough idea on what the model looked like.


Monday, 4 January 2016

Statue face design

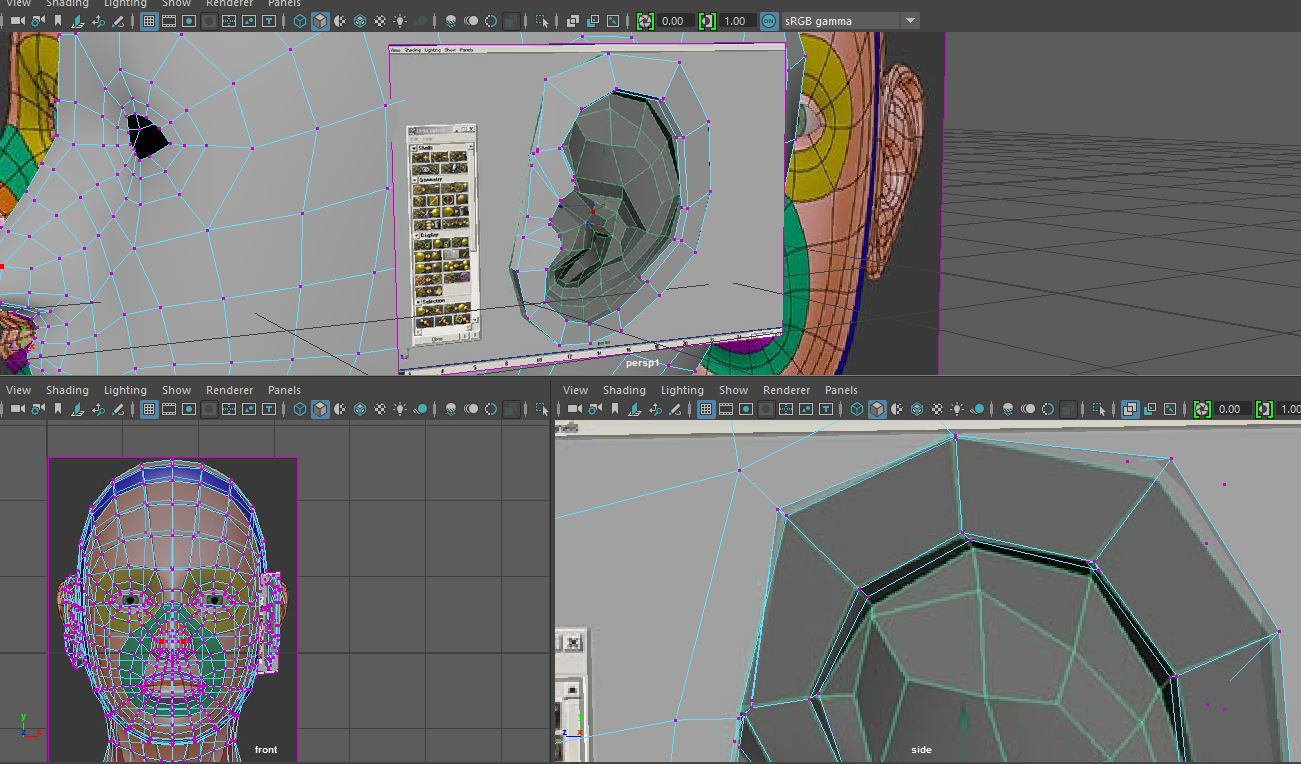
For this lesson, we are to learn how to create a human anatomy face model. For this we where given the targa images used. One side view and one front view. We imported them both onto maya and placed them in a suitable camera view. Side of image on left side and front face in front view. With the perspective camera on top for me to see how the model is forming. 
We started by focusing on eye socket and the bottom lip. As the eye socket and lips took form, it was a matter of just following the references and making sure the edges are in line with the anatomy picture. We did this by moving the vertex's and edges. whist also adding new faces by extruding and stretching them forward. 

Finding an ear shape to model:
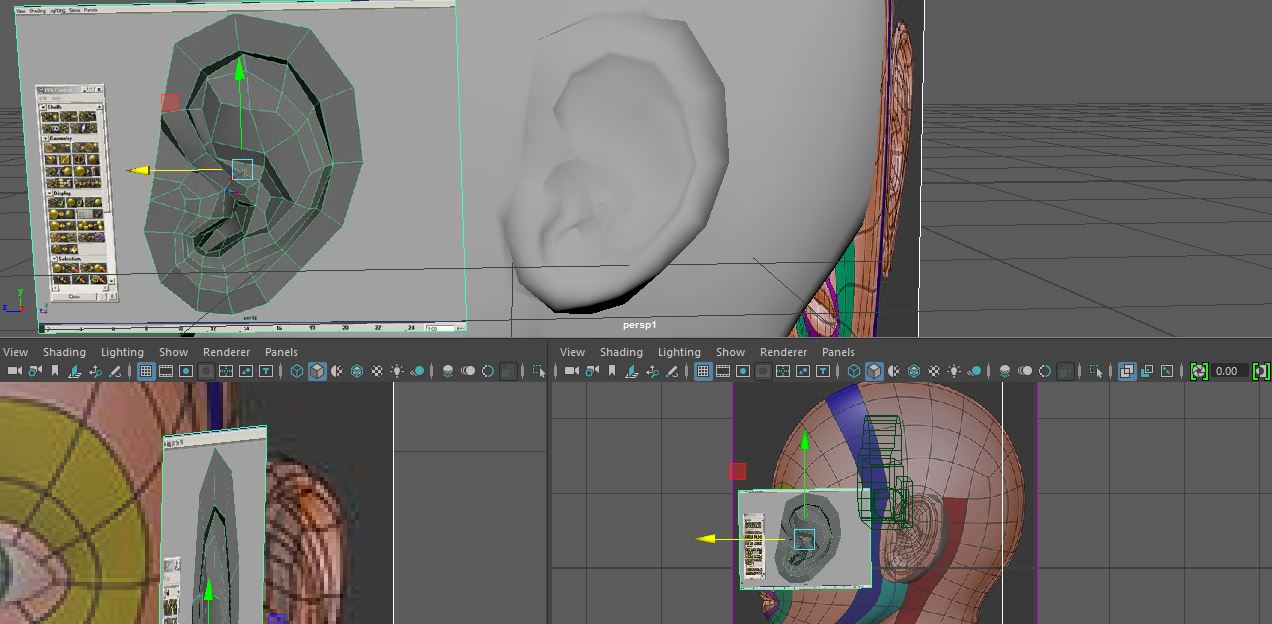
This wasn't easy but eventually I found the perfect reference to use as a guide for me. Though it took a lot of time a patience.


As you can see form the images it was no walk in the park. I had to keep readjusting the vertex's countless of times and ha to extrude a lot to form the ear.

This was my final outcome on having the head and the ear models attached. I was very pleased with the results, as well as excited as to what I can do to this head to add a more features to it. Possibly making it look older? younger ? We shall see.


More Speed Painting

Back for a new year. For this session we had to do some speed painting. However unlike the first speed painting of the old woman, we worked on the landscape first. Using only plane colours to paint and form the silhouette of the picture. 

The picture was by Sam Nielson. "Stealing Apples"


Monday, 28 December 2015

Skeleton Sketches and Joints

Task:
Ah a new year, and to kick off 2016 is our winter break homework with is drawing the human skeleton and joints. I started with a few sketches on the basics, just so that I could get used to drawing a skeleton. For example my first drawing was the skull, then flowed by the shoulders and arms, then the legs and finally the entire body. 

My research:
I mainly used this book to help me with my drawings. It is called "Anatomy Lessons From The Great Masters" by Robert Beverly Hale and Terence Coyle. This helped me hugely and I would recommend this book for people who wish to learn the human body and how it's formed. I also watched a video from Proko and how he explains how the 6 joints work in the human body.


Video on The 6 Joints in Human Anatomy: https://www.youtube.com/watch?v=0cYal_hitz4

My Sketches:


My 3 illustrations of the skeleton:
For this particular task I was struggling to think of how I could try and make a skeleton look unique and making it seem worth '20 hours' of work.  So like most art work, I used what was given to me e.g. the Anatomy Lessons From The Great Masters book as well as my tutors skeleton image. I only used the image as a guide and only copied the shape of the skeleton.


final:
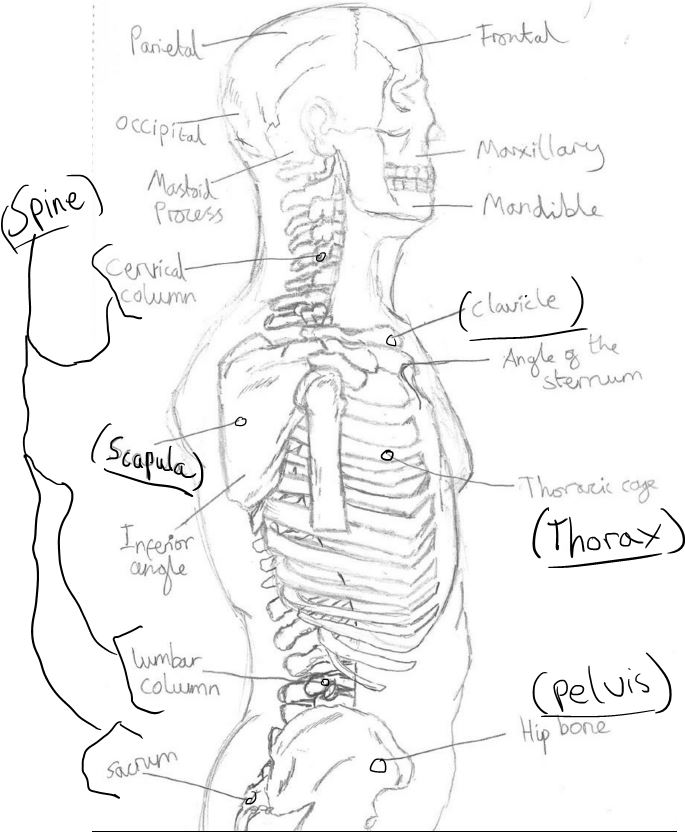
Key Bone Names:

These are the key bone names to be know for the human body

Synovial Joint Names:


This homework took a lot longer for me, as I had spent a few days to complete. I would say that this clocked in 30 hours for me..and that's only for the sketches and 3 illustrations. But I digress, it was still a good practise to do and I am determined to make a solid start for 2016.


Wednesday, 16 December 2015

Referencing for Walking Simulator

Music used for project:

Bioshock: Beyond the Sea (La Mer): by Django Reinhardt 
Soundtrack used for Elevator in my walking simulator.
 
Scary Sound Effects; Video published by Nicole McClelland
https://www.youtube.com/watch?v=8OQtJaV54bs
Sounds used for background noises.

Neverending Nightmare Soundtrack: Music by Sklyer McGlothlin:
https://www.youtube.com/watch?v=qEBNrhNQ1z8
Music used for my main theme in my Walking Simulator. 


I also Added a few materials from Unity Standard assets, in order to give it more atmosphere as well as helping the player find there way though the building.

Monday, 14 December 2015

Final design for Battle Arena


This is my final design of my battle arena temple. After adding the textures on and reorganizing my targa files, I managed to neaten and revive my original final piece. Though it was stressful to have had everything going wrong for me on the hand in date, I was still happy with creating this arena. My tutor did mention that it was very 'ambitious' to build two level, let alone one. However I was utterly determined to at least try and experiment with two different levels. One being the upper level. The outside of the temple. And the lower level. Being the temple with bricks and wood. Understandably its not perfect, but I am still impressed with it, considering it is my first project using the Maya programme.